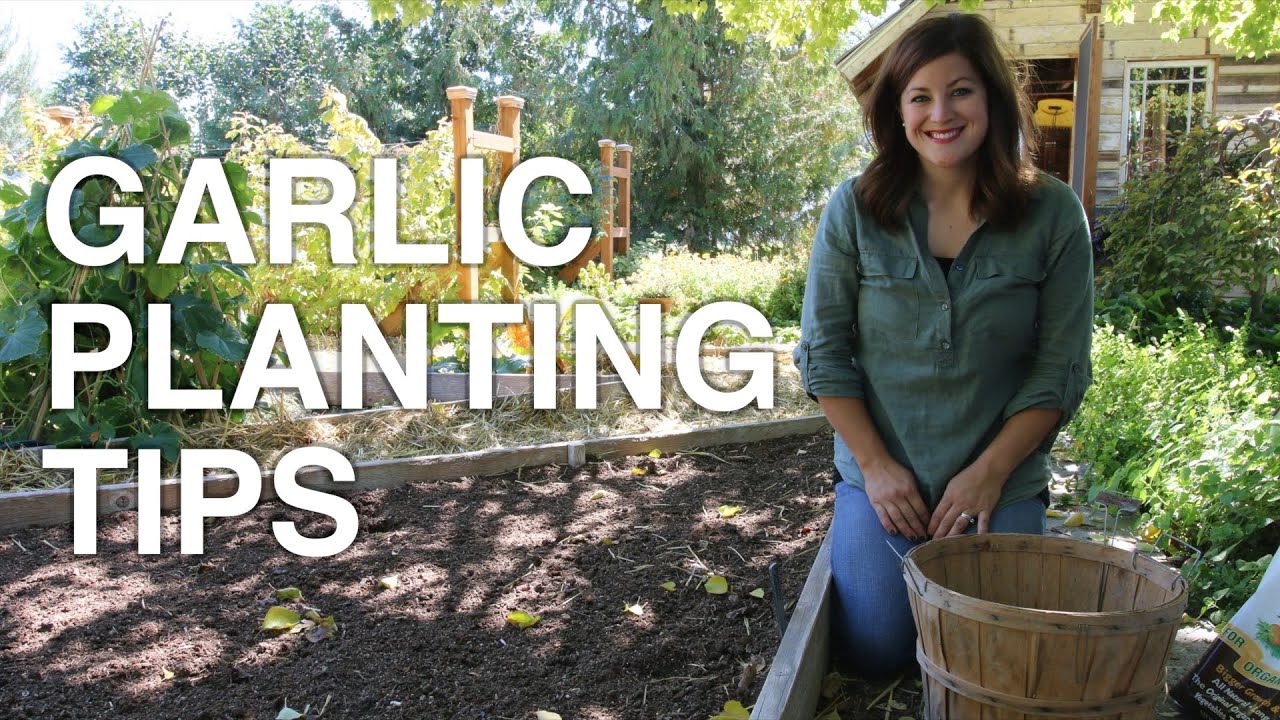
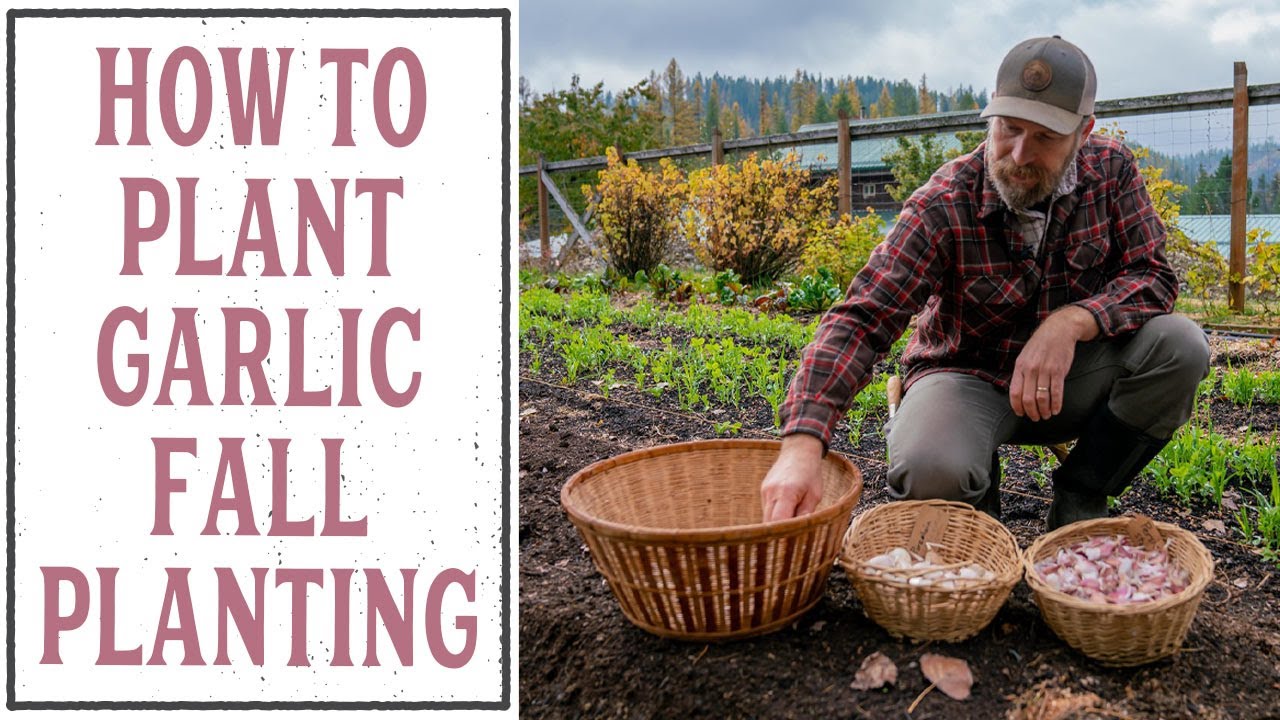
Garlic is one of the easiest crops to grow because there is very little involved. I call it a “set it and forget it” crop. Follow these steps and you should find yourself with a good harvest of garlic!
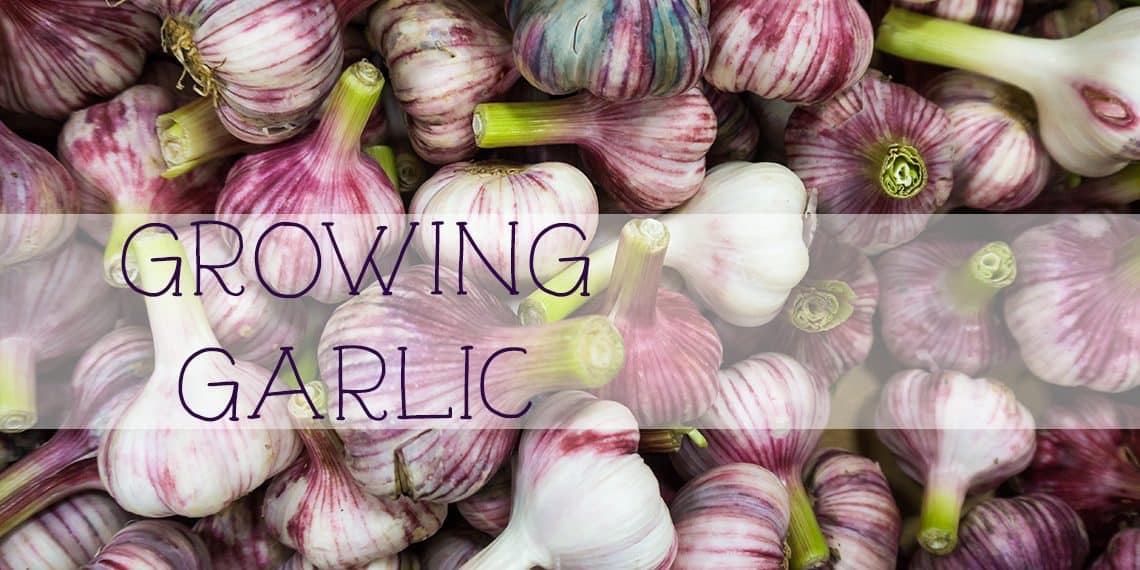
Of course there is always one catch! You have to determine the variety you should/want to grow. There are hardneck and softneck garlics.
Hardneck garlic has a stalk that comes out the center of it and hardens as the bulb matures. Generally, hardnecks have stronger flavor profiles and are a bit more garlic-y. Hardnecks tend to have fewer cloves per bulb than soft…but they are usually bigger. Hardneck have long been thought of as the “right” garlic for northern growers. However, many are starting to question that and trying softnecks as well.
Softneck has no center stalk and the tops are just leaves that will stay soft and flexible as the bulb matures. Softnecks have a milder flavor and may be great for those who like the flavor but don’t want it to be too powerful. This is the type of garlic you will find in the grocery. Softnecks tend to store better longer as well. Softnecks will not make a scape that needs to be removed and tend to mature more quickly than hardnecks.
There is great value in both and I would try to grow both varieties no matter where you live. But…I am kind of a rebel that way!
1. Pick Your Variety! This seems to always be the first step. Once you decide hard vs softneck, there are several varieties for both options. Do some research and get something you can’t find in the grocery store!
2. Sourcing! I would highly recommend only using seed garlic from a reputable grower to start for your family. I purchase mine from a few different companies (See Here) however there are quite a few more out there as well.
Can you just buy garlic from the grocery and plant it? Well…yes. If it is organic it will work. However, what is the point? First of all, you can buy it at the store. Second, you don’t know exactly what variety it is and therefore you can’t predict anything about it. Finally, it may not grow at all and you will have wasted your entire growing season and get nothing from it.
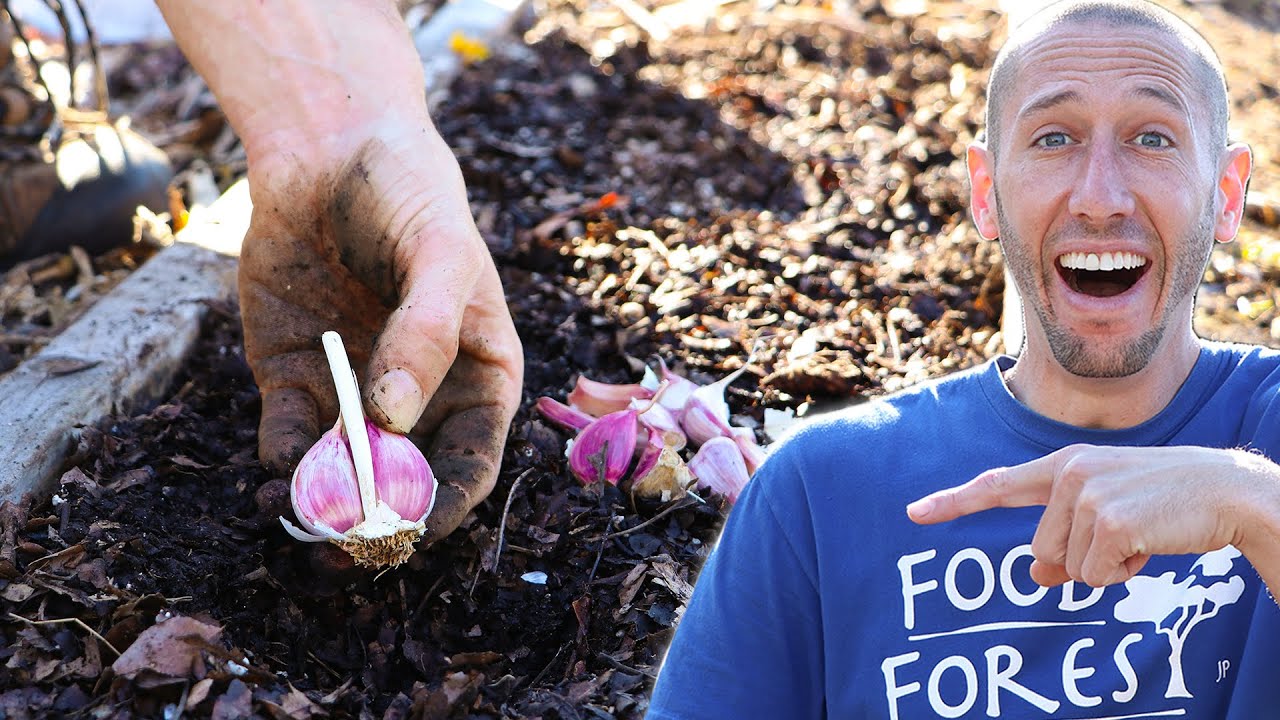
3. Planting! This may seem obvious…but I didn’t know it until I knew it. When you order your garlic it will come in a full bulb most of the time unless you specifically order cloves. When you get the bulbs leave them that way until you are ready to plant. Then, when you are ready to plant, pull the cloves off leaving as much of the paper cover as possible. You are going to plant the clove…not the whole bulb.
Plant in the fall…harvest the following spring/summer (about 5 weeks before ground freezes).
Make sure your soil is loose up to about 8″.
Add an organic granulated fertilizer into each hole at planting.
Plant each clove about 2″ deep and about 8″ apart.
Pointy end faces up!
Cover with soil and then mulch.
Water in bulbs gently.
Water once a week deeply unless it has rained.
Now…wait!
*You may see sprouts come up before your first frost. Don’t worry! Just leave them alone. They will likely die back when the frost comes and will come back in the spring!
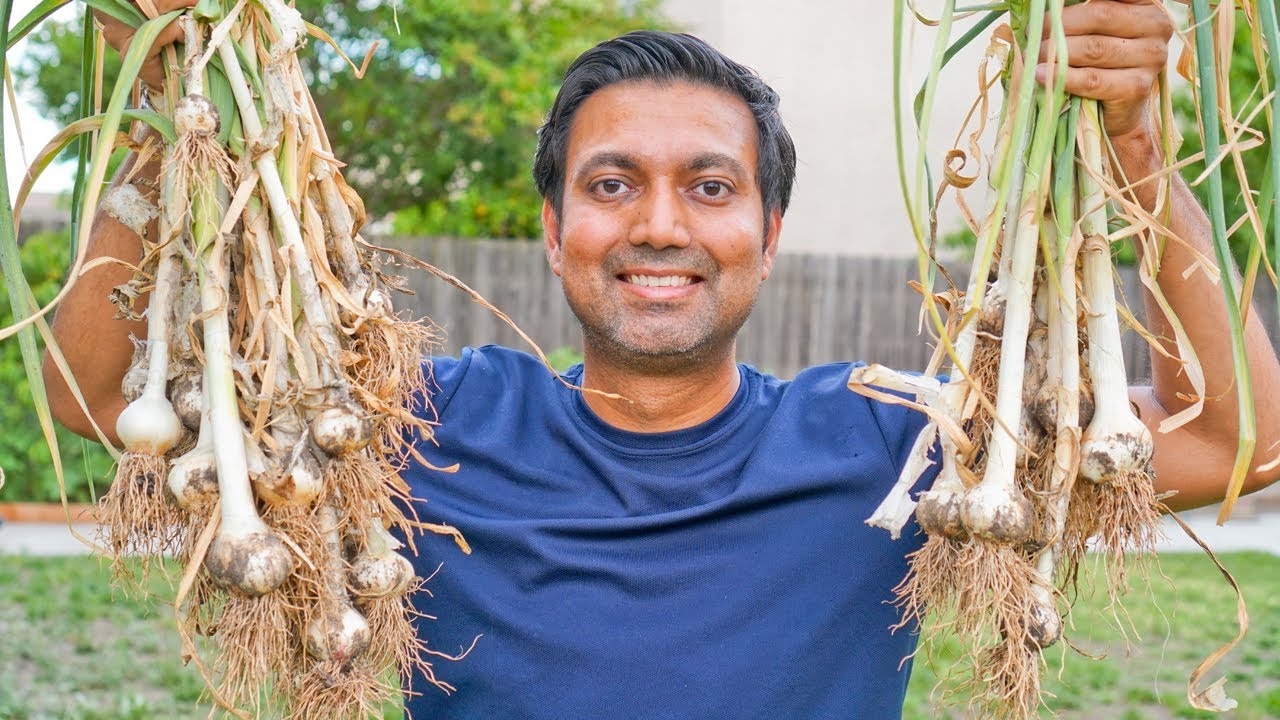
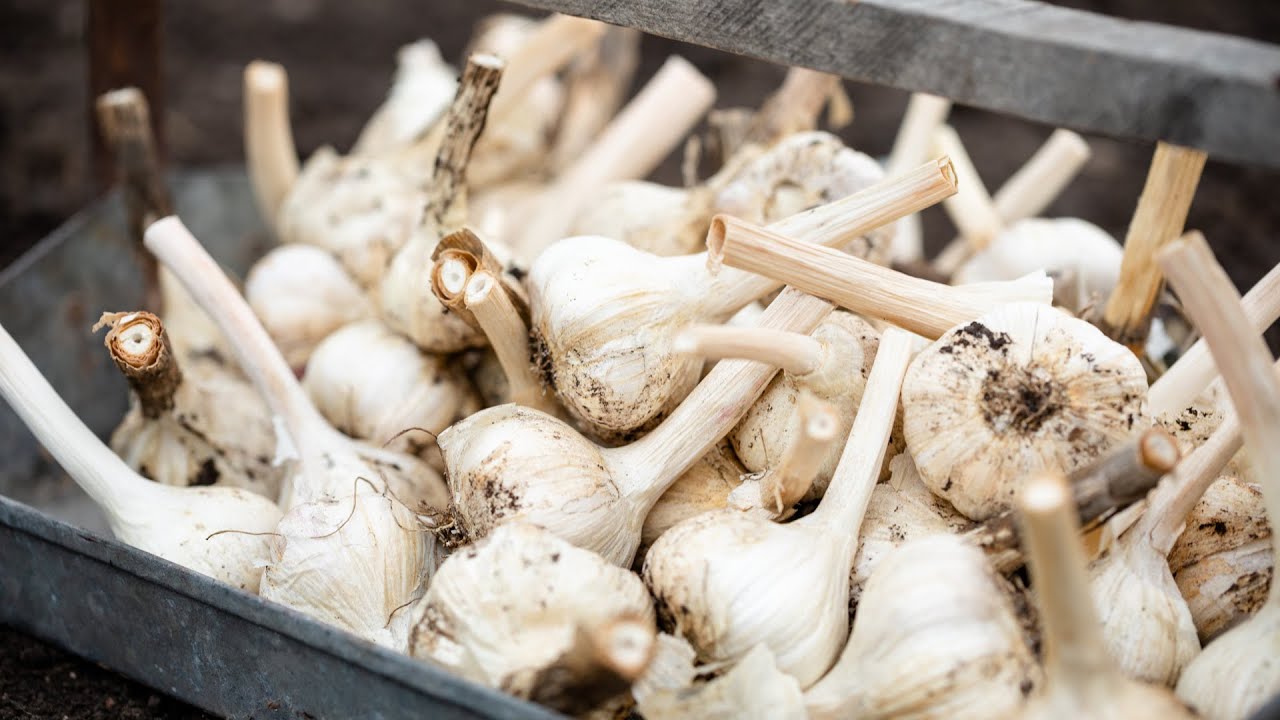
4. Harvesting! The timing of when you should harvest will vary by growing zone, variety and so forth. The best way to determine when to harvest is by the dying back of the tops. I usually wait until my tops start to brown and then I pull one and see if it is bulbing up and ready. Cloves can be eaten at any stage, but you want them to be as big as possible!
*If you are growing hardneck you will want to pinch off the scapes once they curl. Don’t leave them because they will steal energy from the bulbing process!